
PHOTO GUIDES
How to Make Blurry Pictures Clear: A Practical Photo Repair Guide
Identify blur, pixelation and compression, choose the right photo repair workflow, and check faces and fine detail without over-sharpening.
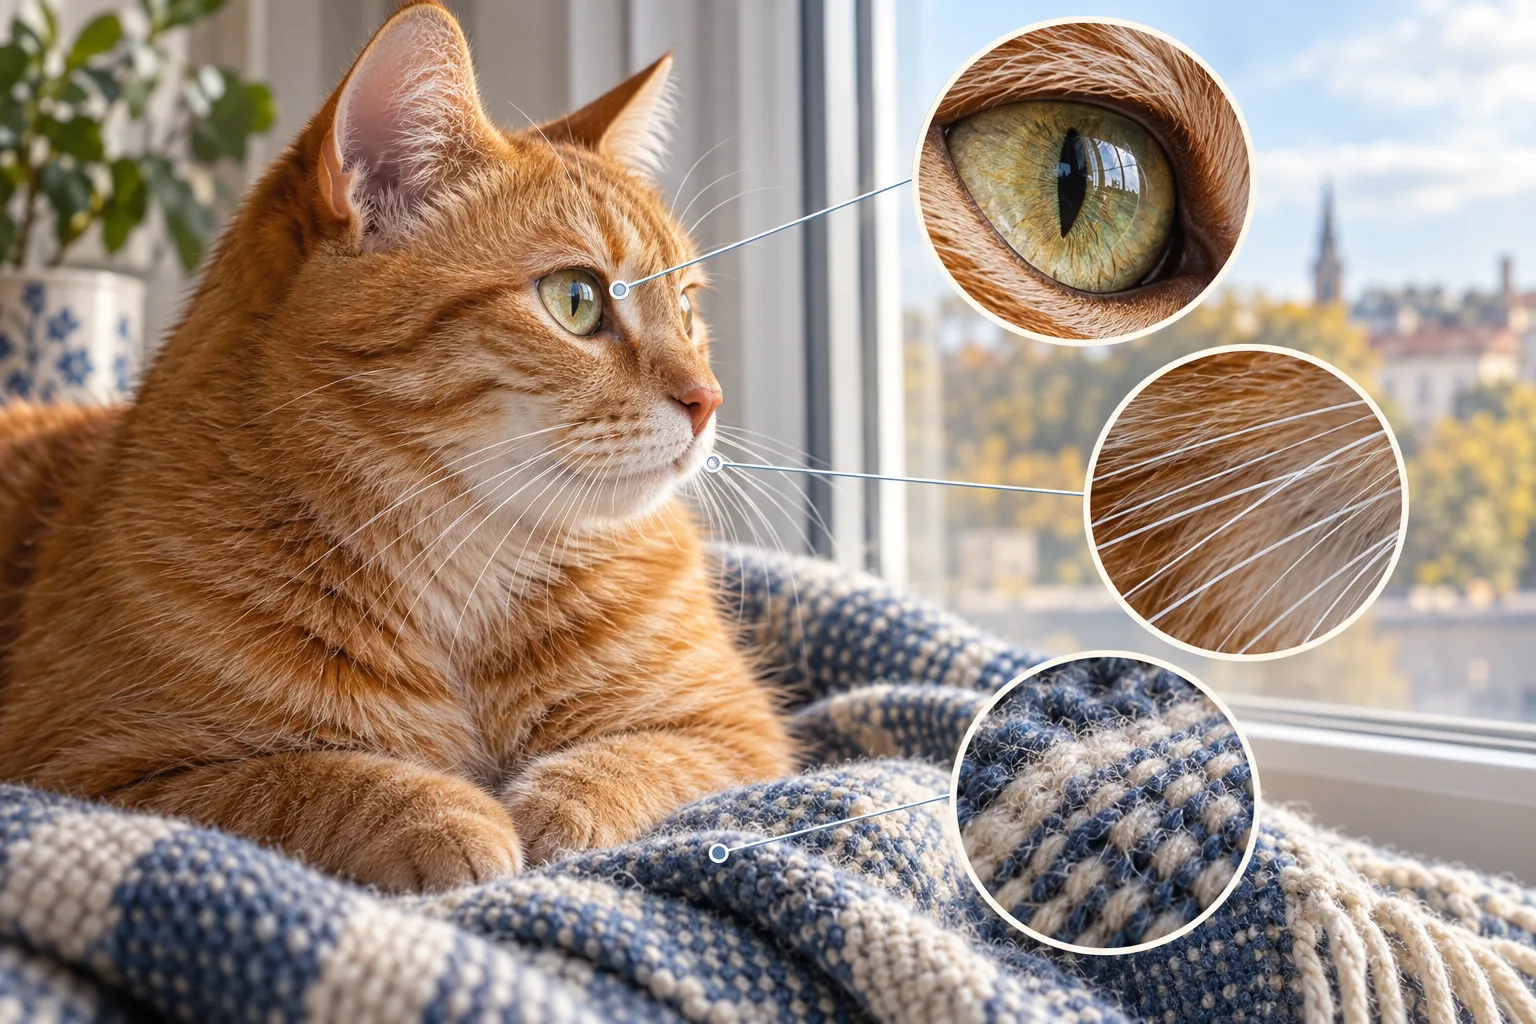
Start with the original file and identify the problem: softness, motion blur, pixelation or compression. Try one appropriate enhancement, then check that faces, lettering and textures remain faithful. Some missing detail cannot be reliably recovered.
Why does your picture look blurry?
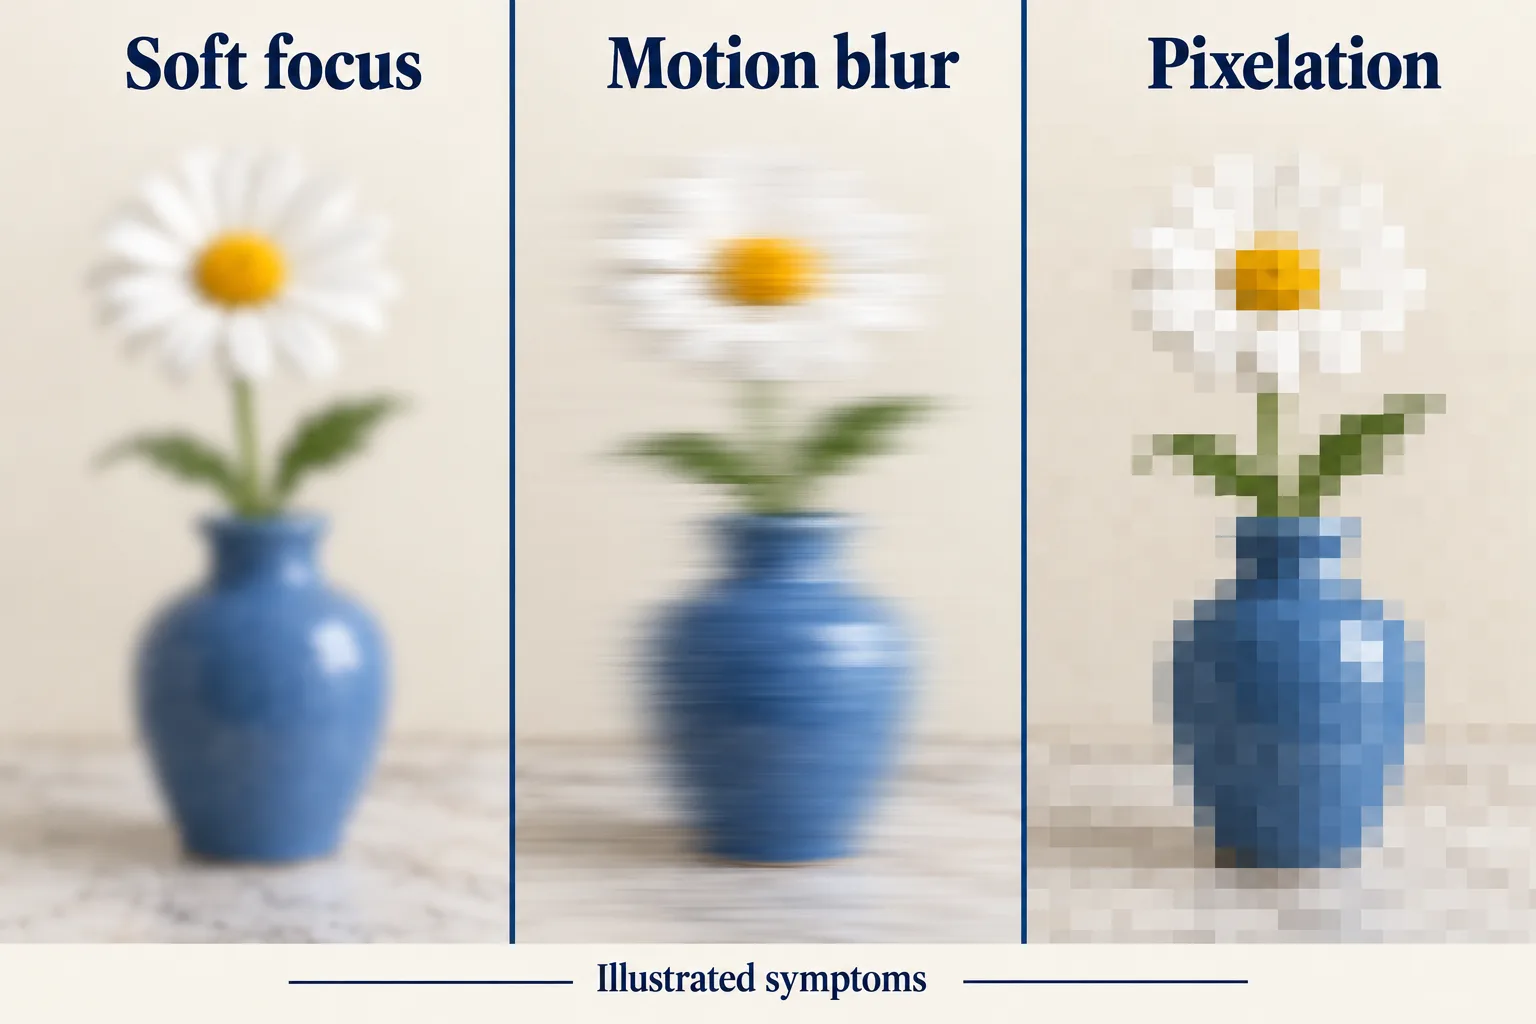
Choose a fix based on what you see. Soft edges, square pixels and compression blocks can all look like blur at first, but increasing sharpness is not the right answer to every problem.
| What you see | Likely issue | First step |
|---|---|---|
| Soft edges across the subject | Missed focus or softness | Try a single unblur pass |
| Streaks in one direction | Camera or subject motion | Find a sharper frame if available |
| Large square pixels when enlarged | Too few pixels | Upscale the original |
| Blocks or ringing near edges | Heavy compression | Find a less compressed source |
A subject outside the depth of field can stay soft even when the background is sharp. A thumbnail can also look worse simply because a screen displays it too large. Open the original at 100% before deciding that the file needs repair.
How to make a blurry photo clearer online
1. Start with the original photo
Recover the original from your camera, phone or download folder. Avoid re-saving a social-media screenshot. Make a working copy so you can compare every edit with the original.
2. Choose clarity repair or enlargement
For soft details, start with the unblur image tool. If the image looks acceptable at its native size but falls apart when enlarged, use the image upscaler instead. These tasks can overlap, but making a file bigger does not automatically recover accurate detail.
3. Process one image and inspect the result
Upload your file, review the options and account requirements shown by the workspace, and start the enhancement. After it finishes, compare the original and result with the subject at the same on-screen size. A larger preview can create a misleading impression of improvement.
4. Keep the version that looks natural
Download the result and inspect it at 100% as well as at its intended viewing size. Reject a version that changes identity, text or important objects, even if it appears sharper. If the result is too aggressive, return to the original rather than repeatedly processing the already altered output.
How to check faces, text and fine detail after enhancement
Sharp-looking detail can still be wrong. Inspect three regions: the subject's important features, a high-contrast edge and a textured area. On a pet portrait, that might mean the eyes, whiskers and fur; on a product photo, inspect the logo, outline and fabric.
- Faces and eyes: check shape, expression and identity against the original. Extra eyelashes are not proof of recovered detail.
- Text: read every important character. Do not treat AI reconstruction of a blurred label, receipt or number plate as reliable evidence.
- Edges: look for pale outlines, double contours and ringing.
- Texture: watch for waxy skin, repeated fur patterns and newly invented fabric detail.
For a social post, also inspect the image at normal phone size. An effect that looks striking at a large zoom can be distracting in the finished image.
Why is the photo still blurry after sharpening?
The source contains too little information
A tiny thumbnail or severely missed focus may not contain enough evidence for a faithful repair. Try a better original, another frame from a burst, or a smaller display size. More processing is not always progress.
Sharpening is exaggerating noise instead of useful edges
If grain and halos get stronger but eyes remain unclear, stop adding sharpening. Return to the original and try a gentler processing option if one is available. Keep both versions for comparison.
The final export or upload is reducing quality
Compare the downloaded file with the version on the destination site. Check whether the site resized or recompressed it. Upload the final file once and avoid a chain of screenshots and JPEG re-saves.
When should you upscale a repaired photo?
Upscale when you need more pixels for a specific output, such as a larger print or a product image at a required size. Work from the best source and use the smallest enlargement that meets that need.
For printing, calculate the target before processing. Our photo enlargement guide explains pixel dimensions, PPI and cropping with an 8 × 10-inch example. Keep the final crop in mind: removing part of an image reduces the pixels available for the print.
Do not upscale simply to chase a bigger resolution number. Compare the final image at the size your audience will actually see.
Common questions about fixing blurry pictures
Can every blurry photo be made clear?
No. Mild softness can be more workable than severe motion blur or missing detail. An enhancement can produce plausible texture, but it cannot guarantee a faithful reconstruction of the original scene.
Is sharpening the same as increasing resolution?
No. Sharpening changes local edge contrast; upscaling increases pixel dimensions. A small image may need enlargement, while a large but soft image may need clarity repair.
How do I fix a blurry phone photo without making it look artificial?
Use the original file, make one conservative enhancement, and check faces and edges at equal display size. Stop when the result looks natural. If details change, retain the original or choose another shot.
Should I use AI to read text that is too blurry to see?
Do not rely on the result for factual transcription. Recover a higher-quality original or ask for a new photo; plausible-looking letters can be incorrect.