
PHOTO GUIDES
How to Enlarge a Photo for Printing: Size, Resolution & Crop
Calculate pixels for your print size, choose an enlargement scale, check the crop, and inspect your photo before ordering a larger print.
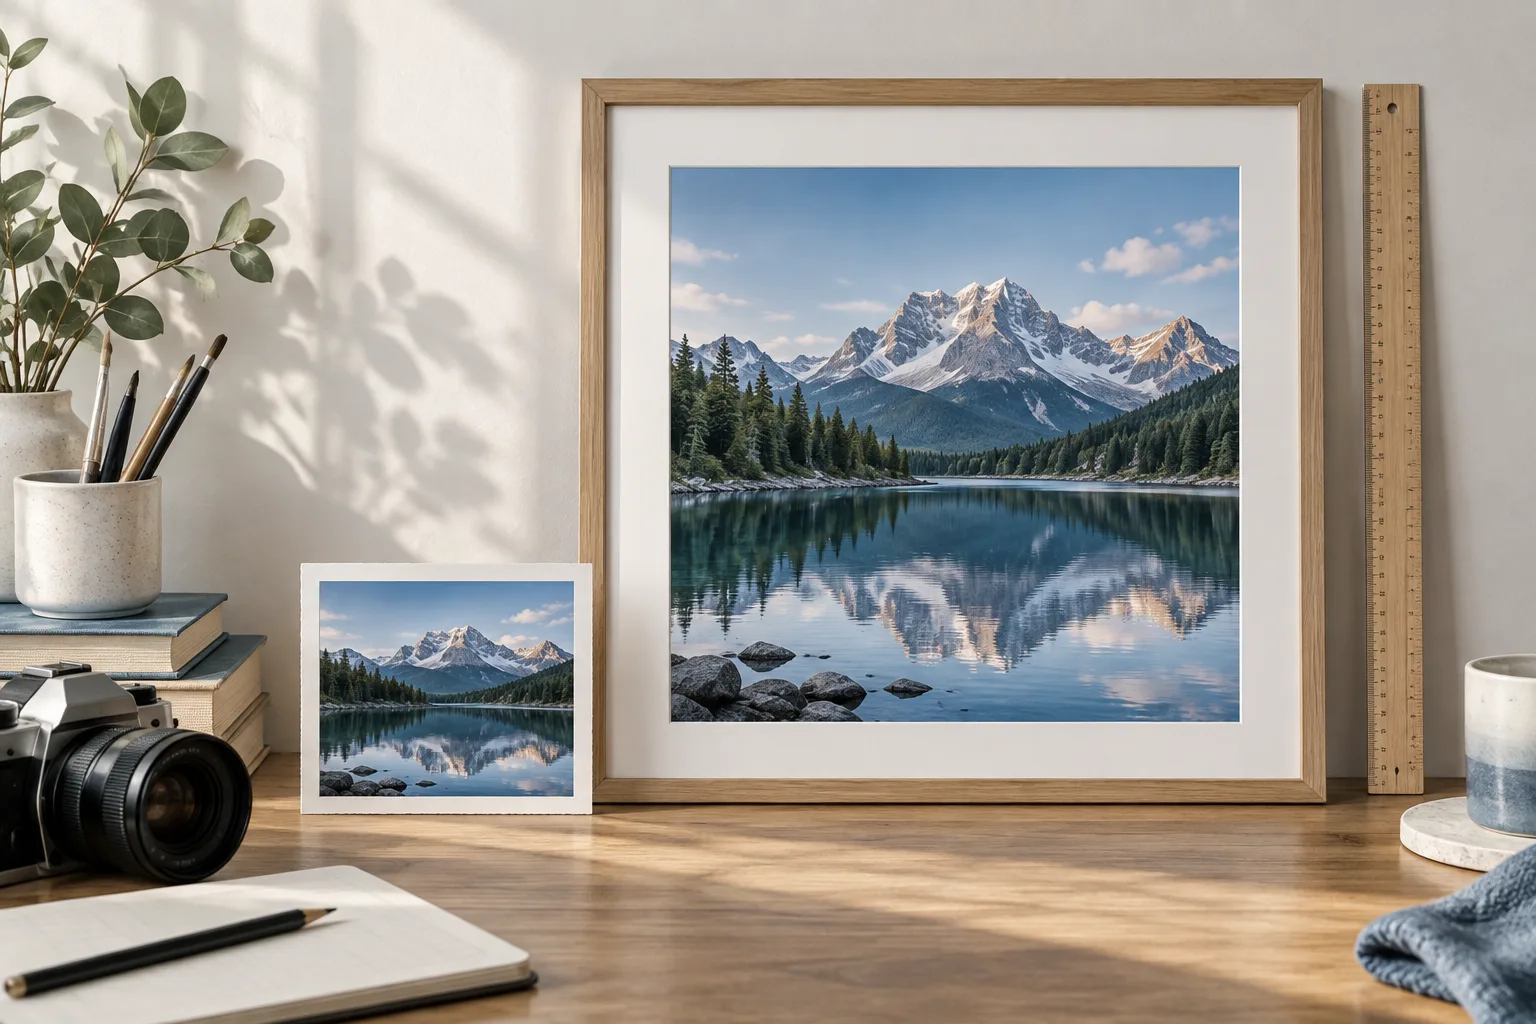
Choose your print size, calculate the pixels needed, then enlarge only if the original falls short. Check detail and crop before ordering a print. Changing a DPI tag alone does not create detail.
How many pixels do you need for a photo print?
Start with the size on paper, not the file size in megabytes. Multiply each dimension in inches by your target pixels per inch (PPI). A useful starting point for a photo viewed close up is 300 PPI; ask your print shop which resolution it wants for the paper, product and viewing distance.
Required pixels = print size in inches × target PPI. For centimetres, divide by 2.54 first. An 8 × 10-inch print at 300 PPI needs 2400 × 3000 pixels after cropping.
| Print size | Pixels needed | Shape |
|---|---|---|
| 4 × 6 in | 1200 × 1800 | 2:3 |
| 5 × 7 in | 1500 × 2100 | 5:7 |
| 8 × 10 in | 2400 × 3000 | 4:5 |
| 12 × 18 in | 3600 × 5400 | 2:3 |
These are arithmetic targets, not promises of photographic detail. A larger file can still contain blurred eyes, compression blocks or invented textures.
Does changing a photo to 300 DPI improve its quality?
Changing a resolution tag alone does not add pixels. A 1200 × 1800-pixel image contains the same information whether its metadata says 72 or 300 DPI. At 300 PPI it fits a 4 × 6-inch print; spread over 8 × 12 inches, its effective resolution is 150 PPI.
PPI describes how densely image pixels fit on paper. DPI technically describes printer dots; print services often use the term DPI when asking for image resolution. Check pixel dimensions and the intended physical size rather than relying on the label alone.
Resampling creates additional pixels. AI upscaling can estimate plausible edges and texture, but it cannot prove what missing detail originally looked like. Keep the original file.
How to enlarge your photo with Upscayl
1. Find the best original and check its dimensions
Use the camera file or original download rather than a screenshot or messaging-app thumbnail. Read its width and height in your file information panel. If it already meets the print target and looks clear, you may not need to upscale it.
2. Calculate the enlargement you actually need
Suppose your portrait image is 600 × 900 pixels and you want a 4 × 6-inch print at 300 PPI. The target is 1200 × 1800, so a 2× enlargement in both dimensions is enough. A 4× setting would make a bigger file without necessarily making a better print.
3. Upload and choose an available scale
Open the Upscayl image upscaler, upload the original and choose the smallest available enlargement that meets your target. Review the settings, input limits and account requirements shown in the workspace before starting. Process one photo first before applying the same approach to a batch.
4. Download and verify the actual output
Download the completed file, then check its actual dimensions. Inspect facial features, hair, handwriting and repeated patterns at 100% zoom. Keep the version that looks faithful to the original, not simply the one with the most pixels.
How to avoid cutting off your photo in an 8 × 10 print
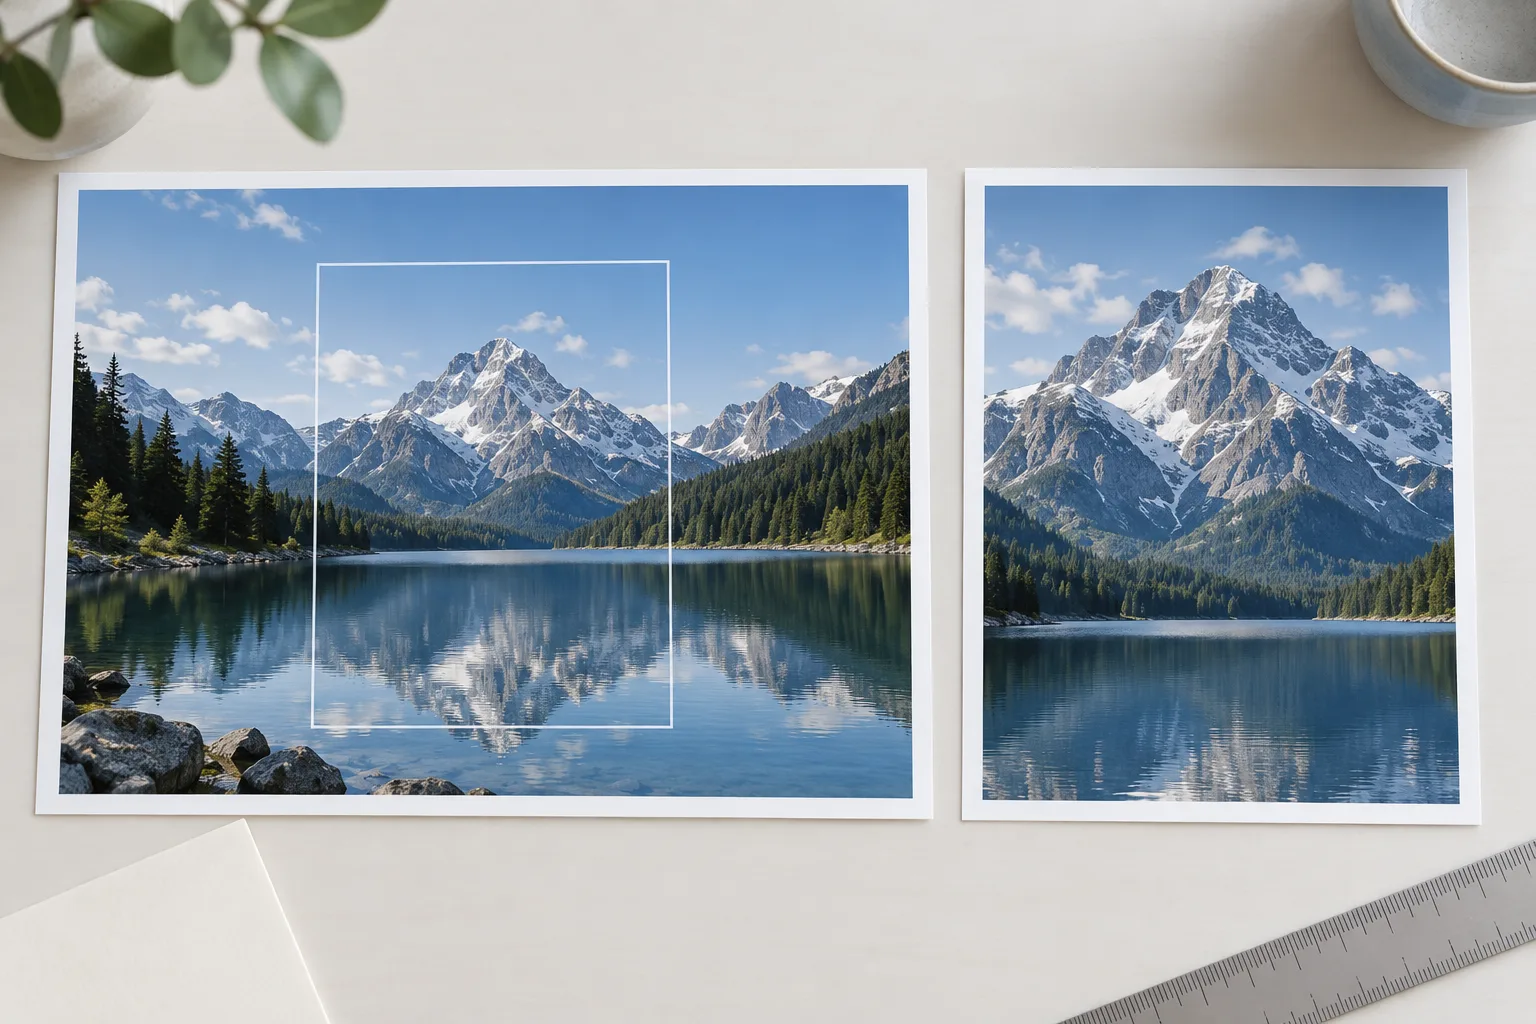
Match the aspect ratio before committing to a print. A 2:3 camera image does not fill a 4:5 frame without cropping or borders. Upscaling does not solve this shape mismatch.
For example, a 1200 × 1800 portrait cropped to 4:5 becomes 1200 × 1500 if the width is retained. At 2× it becomes 2400 × 3000. Check that the crop keeps heads, hands and important background objects inside the frame.
If you need the whole scene, select a matching print ratio or ask for borders. Do not stretch the image independently in width and height. Confirm any bleed and safe-area requirements with the printer.
What should you check before ordering a large print?
- Detail: compare the original and enlarged file at the same displayed subject size. Look for changed eyes, repeated texture, edge halos and unreadable lettering.
- Crop: check the final print preview, not just the downloaded image.
- Colour: follow your lab's colour-profile and file-format requirements. A brighter monitor does not guarantee a matching paper print.
- Proof: print a small section at the intended final scale before paying for a large order.
If the source is already soft, work through our blurry photo troubleshooting guide first. Enlarging blur alone makes a larger soft image.
Photo enlargement questions
Can a low-resolution photo be enlarged without losing quality?
You can preserve the original and create a larger version, but enlargement estimates missing information. A mildly undersized photo is a better candidate than a tiny thumbnail. Judge the result at its intended size and order a proof.
Is 300 PPI required for every poster?
No. Viewing distance, print process and subject matter change what is acceptable. A wall poster may tolerate a lower pixel density than a photo book viewed close up. Use the printer's specification rather than a universal rule.
Should I sharpen before or after upscaling?
Start from the least processed original. Inspect the enlargement before adding further sharpening; repeated sharpening can exaggerate halos and noise. For finishing, judge the file at the final output size.