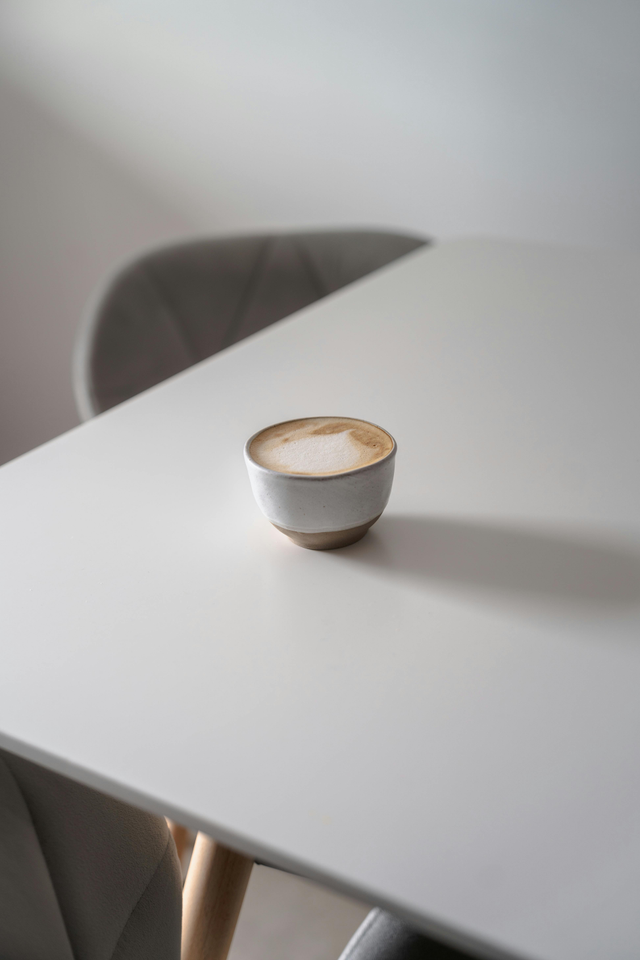
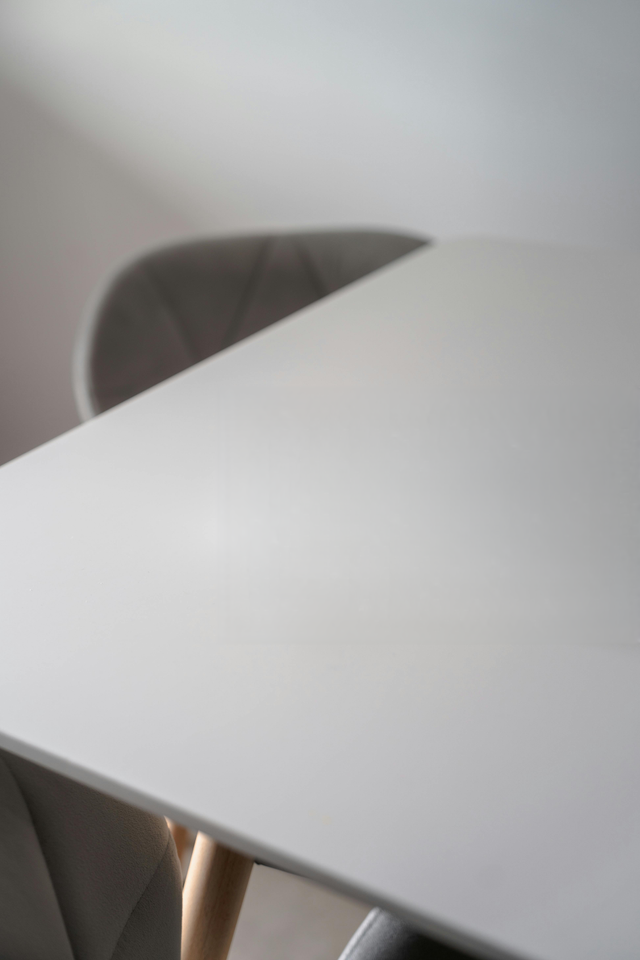
Keep the composition you like
Remove a small distraction without cropping away the rest of your photo.
Open a JPG, PNG, or WebP file and mark the part of the scene that needs cleaning.
Select a PhotoJPG, PNG, WebP, and ZIP · up to 20 MB per photo
Upload your photo, brush over the unwanted object, and download the result. No desktop editor or software installation needed.
Remove a small distraction while keeping the full photo. Choose the area with the brush, then check how it blends with the surrounding scene.
Remove a small distraction without cropping away the rest of your photo.
Adjust the brush width and mark the object. Undo a mark or clear the selection before processing.
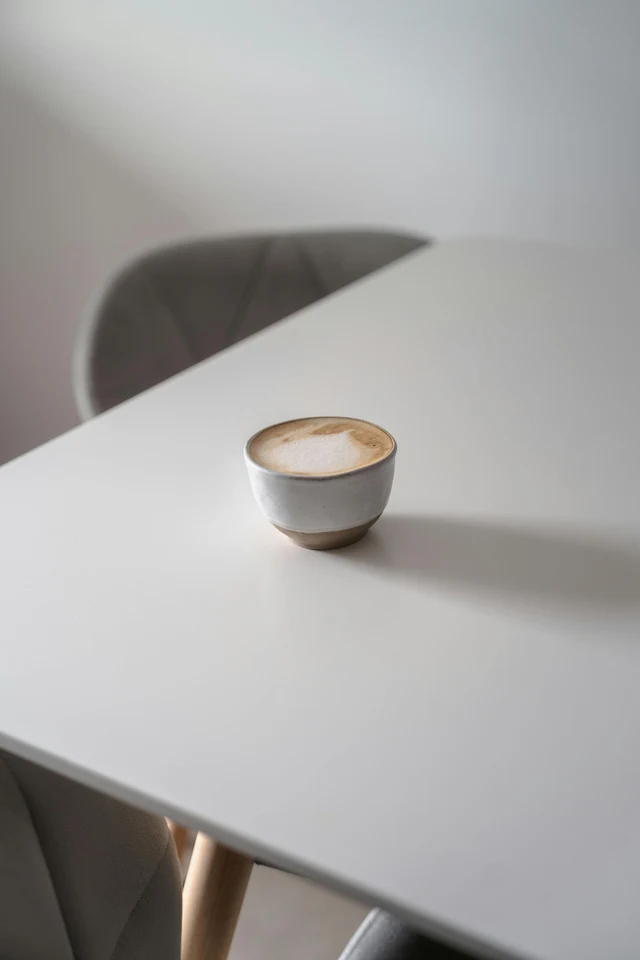
Original photo
Actual cleanup result
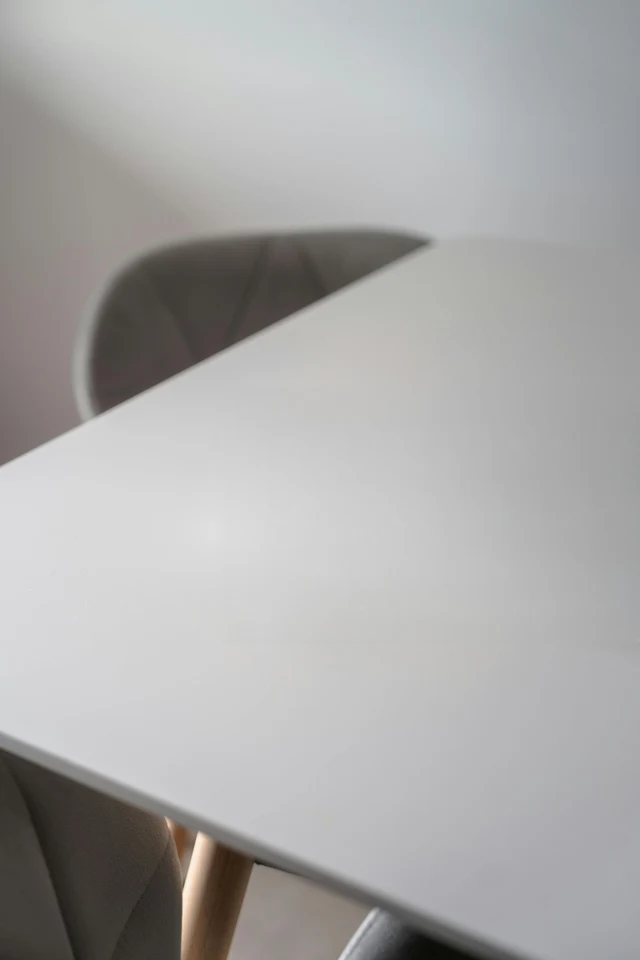
Close-up of the same area: inspect the tabletop where the cup and its shadow were removed. Compare the surface and nearby edges before saving your own result.
Original photo
Actual cleanup result
The cup and its shadow were marked and removed with this tool. Compare the filled tabletop with the original photo.
Source photo: Genaro35, Wikimedia Commons (CC0). Resized for this example.
Open a JPG, PNG, or WebP image up to 20 MB. Pick a photo where the unwanted object is easy to see.
Cover the object and its shadow. Use a smaller brush near edges you want to keep.
Run the cleanup and inspect the filled area. Adjust the selection if needed, then save the result.
Mark the person in the background while keeping your main subject. Separated objects are easier to remove than people who overlap.
Clear a small object from a desk or room photo. Check the repaired surface where wood grain or straight lines cross the selection.
Remove a loose tag or stray prop before sharing a product photo. Leave the product itself outside the marked area.
No. You can use this online tool directly on Upscayl. Choose a photo and use the brush to mark the area you want to erase.
Yes. Free browser processing is available without signing in. Cloud processing requires an account and may use credits.
You can mark an unwanted person and try filling the area. Results depend on how much of the background is hidden and whether the person overlaps your subject.
This page uses a brush to remove objects. For edits described in words, open the AI Photo Editor.
Yes. Add several photos or a ZIP file, then mark each image. Reuse a selection only when the objects are in the same position.
The selection may have missed an edge or shadow. Adjust the marked area and try again, keeping nearby details you want to preserve outside the selection.
Describe a change to the scene in the AI Photo Editor.
Create a cutout when you need to separate the subject from its surroundings.
Try improving a low-resolution photo after your cleanup.